Mystery at the Museum - Plan a Trip
Geocaching.com's newest promotion, Mystery at the Museum, is online today. To qualify for the first three souvenirs, you must find and log a number of geocaches, in a certain order.
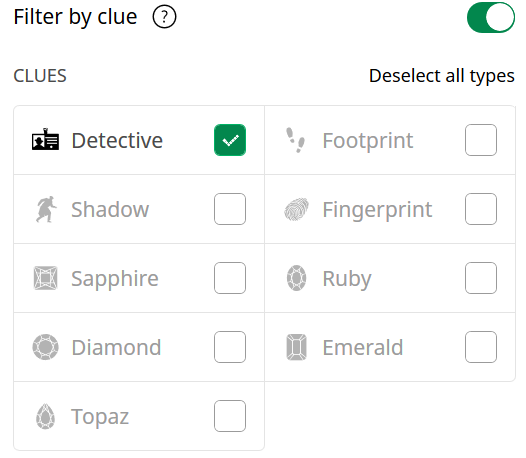
Geocaching.com offers a filter function that shows which geocaches to find and log next. However, it only allows me to select the clue tiers that I currently qualify for. Since I haven't found any geocaches since the promotion started, I can only search for the Detective clue, but cannot search for any other clue types.
This is inconvenient for me, because I prefer to go geocaching offline. I usually download a number of geocaches to my phone, go out to find them, and then log them at end of the day. I want to be able to search for clue types beyond Detective, even if I don't currently qualify for them. Then, I can go out, find enough geocaches to complete two or three souvenirs together, and then log them into the correct order.
I poked around the URI parameters in the address bar, and found two methods. I thought I'd share them, in case anyone needs it.