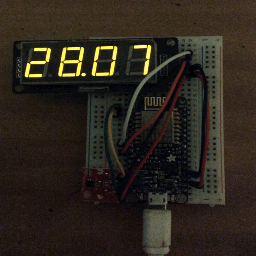
ESP8266 Call Button
It's NDN Community Meeting again and this time I'm officially presenting HomeCam at the demo session. I'm the sole presenter of this project. Normally, I have to stay at my table to show my project to the audience. However, I don't want to miss the chance of seeing what others have been doing. To solve this dilemma, I come up with an idea: a call button.
I put a big button on my table. It is labelled as: if I'm not here, press the button to send an Interest. Then, I wear a battery powered light ring on my body. Whenever someone presses the button, it lights up for 15 seconds.
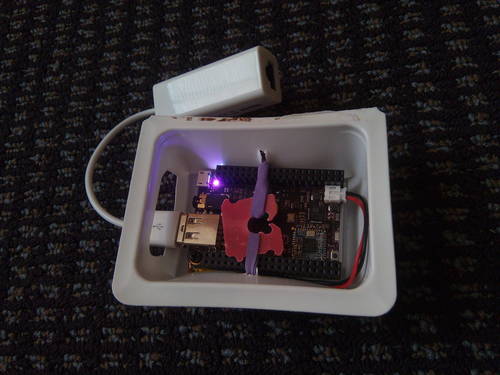
How It Works
Both the button and the light ring are based on ESP8266. The light ring unit acts as WiFi access point and NDN producer. The button unit acts as WiFi station and NDN consumer. When the button is pressed, the consumer transmits a signed Interest, and the producer turns on the light for 15 seconds after verifying the signature. Since the light ring unit is battery-powered, it enters deep sleep mode if there's no connected WiFi client.