Mom Calendar with Adafruit MagTag

I bought an Adafruit MagTag last year, wanting to play with E-Ink technology. E-Ink, also known as "electronic paper", is a display device that mimics the appearance of paper. A special property of E-Ink is that, it only consumes electricity for changing the displayed content, but does not need electricity to retain the text and images it's already showing. This type of display is often found on E-Readers such as the Amazon Kindle (paid link), where the content doesn't change rapidly and the user would be looking at the same content for several minutes or longer.

After three years of pandemic flight restrictions, my mother was finally able to come from Shanghai and visit me in Maryland. She was here for 70 days, arriving on March 08 and departing on May 17. When I was cleaning the apartment prior to her arrival, I noticed the blank E-Ink display on my wall, and decided to build a calendar that counts mom's visit.
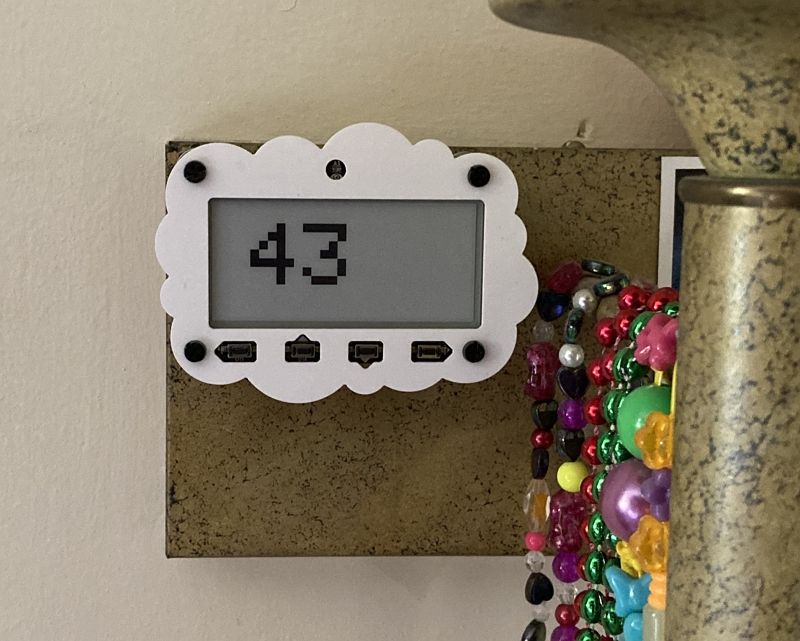
Adafruit MagTag displaying "43"

Mom Calendar - Features

The mom calendar shall display number of days since mom's arrival. The day counter starts from 0 on March 08, increments by 1 on each day, and reaches 70 on May 17.
Is ESP32 Big Endian or Little Endian?

I'm programming network protocols on the Espressif ESP32 microcontroller, and I want to know: is ESP32 big endian or little endian? Unfortunately, search results have only videos and forum posts and PDF; the answer, if present, is buried deep in pages and pages of discussions and irrelevant content. So I quickly wrote a little program to determine the endianness of ESP32.

The Straight Answer: ESP32 is Little Endian

I have determined that: the Tensilica Xtensa LX6 microprocessor in ESP32 is little endian.

ESP32 is little endian. Many other processors are little endian, too:

  • Intel and AMD x86 and x86_64 processors are little endian.
  • Raspberry Pi and Beaglebone Black are little endian, although the underlying ARM processor may operate as big endian.
  • ESP8266 is little endian. It has Tensilica Xtensa L106 microprocessor, similar to the ESP32
  • nRF52 series is little endian. This includes the Adafruit Bluefruit nRF52832.

How to Print uint64_t in Arduino

The Arduino programming language looks like C++, but it is weird in its own way: there's no C++ standard library. In C++, you can print a variable to the debug console with std::cerr << x;. In Arduino, you have to write a function call: Serial.print(x);. I love that the Streaming library brings back the familiar syntax Serial << x; through some template and macro magic. But when it comes to a uint64_t variable, nothing works!

error: call of overloaded 'print(uint64_t&)' is ambiguous
   Serial.print(x);
                 ^

note: candidates are:
note: size_t Print::print(const __FlashStringHelper*) <near match>
note:   no known conversion for argument 1 from 'uint64_t {aka long long unsigned int}' to 'const __FlashStringHelper*'
note: size_t Print::print(const String&) <near match>
note:   no known conversion for argument 1 from 'uint64_t {aka long long unsigned int}' to 'const String&'

The cause of this error is: Arduino does not know how to print a uint64_t!

How Arduino Prints Stuff

Arduino contains a subset of C++ standard library, plus some additional headers known as the "Arduino Core". Each microcontroller has its own Arduino Core: AVR, SAMD, ESP8266, ESP32. They follow roughly the same API, one of which is the Print class that knows how to print stuff.

Program Fipsy FPGA Breakout Board from ESP32

MocoMakers is creating Fipsy FPGA Breakout Board, a tiny circuit board offering a piece of Field-programmable gate array (FPGA). I worked with FPGA years ago in class projects, but didn't have access to a device after that. I backed the project, and received two Fipsy boards on Jul 20.

Fipsy is a very simple board: there is no power regulator or USB port. The official method to program the Fipsy is through the SPI port on a Raspberry Pi. It is easy to setup, and is a good use case for my Raspberry Pi Zero W (paid link), but there is one problem: It is good practice to power off the circuit when modifying hardware wiring. However, powering off a Raspberry Pi cleanly requires sending a shutdown command and waiting for a few seconds. If I just pull the power cord, I would risk corrupting the filesystem.

ESP32 microcontroller has SPI ports, and can be powered off and restarted very quickly. Can I program Fipsy from an ESP32?

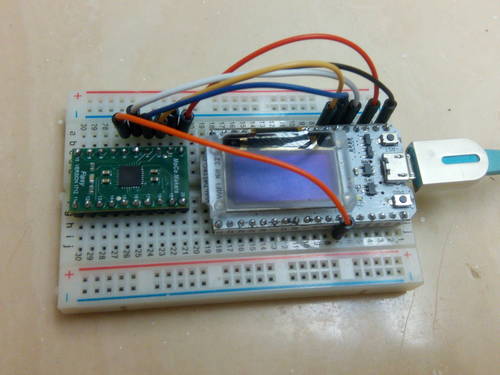
Fipsy connected to Heltec WiFi\_Kit\_32

Hardware side is easy. ESP32 has two available SPI ports, HSPI and VSPI, and I connected Fipsy to the Heltec WiFi_Kit_32 (paid link)'s HSPI port. All that remains is deciphering the spaghetti code of the official programmer. After a day of hard work, I got it working:

Watch @EmojiTetra Live on ESP32 OLED Display

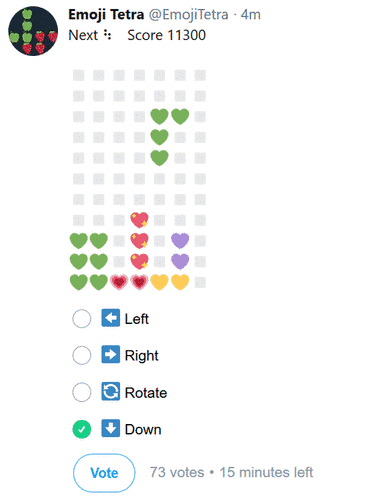
@EmojiTetra is an online game resembling Tetris, hosted on Twitter platform. Every 20 minutes, the @EmojiTetra account posts a tweet that displays the current game board, along with a four-option poll that allows visitors to vote for the game's next move: left, right, down, rotate, or plummet.

a tweet by @EmojiTetra

I find this game interesting. To watch or participate in @EmojiTetra, I need to unlock my tablet, open Twitter app, search for "EmojiTetra", and scroll past the pinned tweet in order to see the current game move. In total, this process needs 17 taps. Looking at the 0.96 inch OLED display on my Heltec WiFi_Kit_32 (paid link) board, I'm thinking: can I play @EmojiTetra on an ESP32?

Twitter API

Twitter offers an API that allows applications to retrieve and post tweets. GET statuses/user_timeline resource, for example, retrieves a collection of the most recent tweets posted by a specific user. To watch the game, "user timeline" is exactly what I need to retrieve the current game state.

Enter WiFi Credentials on ESP32 with One Button

It is considered bad practice to hard-code WiFi credentials into Arduino sketches. Typical recommendations include the WiFiManager library for ESP8266, and SmartConfig for ESP32. Both require the user to have a smartphone to send command to the ESP chip, which otherwise does not have any User Interface (UI).

My ESP32 board is the Heltec WiFi_Kit_32 (paid link) that comes with a 0.96 inch OLED display and a little PRG button connected to pin #0. Can I use these minimal UI to enter WiFi credentials without involving a smartphone?

Heltec WiFi_Kit_32 OLED board with one button

Design with Minimal UI

I took inspiration from Prof Stephen Hawking's computer:

Happy New Year 2018 on ESP32 OLED

I've been playing with ESP8266 for one and a half years now. Recently, I'm upgrading to its bigger brother, the ESP32. I purchased two development boards, one of them is the Heltec WiFi_Kit_32 (paid link) that comes with a 0.96 inch OLED display.

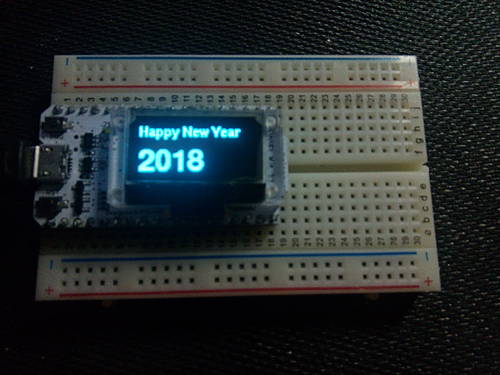
When 2018 arrives, what's a better way to say Happy New Year than on the ESP32? Therefore, I crawled out of the bed at 4AM, turned on the computer, and started Arduino IDE. Half an hour later, I tweeted this picture:

"Happy New Year 2018" on Heltec WiFi\_Kit\_32 OLED display

The code is simple yet effective. It was modified from u8g2 library full_buffer/HelloWorld example, with the constructor line found on Robot Zero One.

#include <U8g2lib.h>

U8G2_SSD1306_128X64_NONAME_F_SW_I2C u8g2(U8G2_R0, 15, 4, 16);

void setup() {
  u8g2.begin();
}

void loop() {
  u8g2.clearBuffer();
  u8g2.setFont(u8g_font_helvB10);
  u8g2.drawStr(0, 20, "Happy New Year");
  u8g2.setFont(u8g_font_helvB24);
  u8g2.drawStr(0, 60, "2018");
  u8g2.sendBuffer();
  delay(1000);
}