I bought a GL-AR750 home router (paid link) last year, and was very happy with the flexibility of its OpenWrt operating system.
The base system has enough functionality as a home router: it has a web-based configuration interface; WiFi works out of box without fiddling hostapd.conf.
On the other hand, the system is extensible that I can install additional packages to add VPN server, file sharing, etc.
When I decide to start hacking, I noticed a problem: the GL-AR750 is now part of my "production" network, and I don't want to change it too much to affect my normal life.
Thus, it's time for a second OpenWrt router!
After some online search and comparison, I chose the Onion Omega2 Pro. The strengths of Onion Omega2 Pro are:
- The CPU is MIPS architecture, allowing me to gain some experience with this unfamiliar architecture.
- It has 8GB eMMC storage, giving me plenty of space to install packages.
- It has LiPo battery port, USB host port, and pin headers with SPI and I2C, leaving possibility of building battery-powered IoT projects.
Shipment arrived two months later.
I plugged it in, and found that the Omega2 Pro runs OnionOS, a customized version of OpenWrt.
Apart from GUI differences, it uses a custom WiFi driver wifi-warp-core that has several flaws.
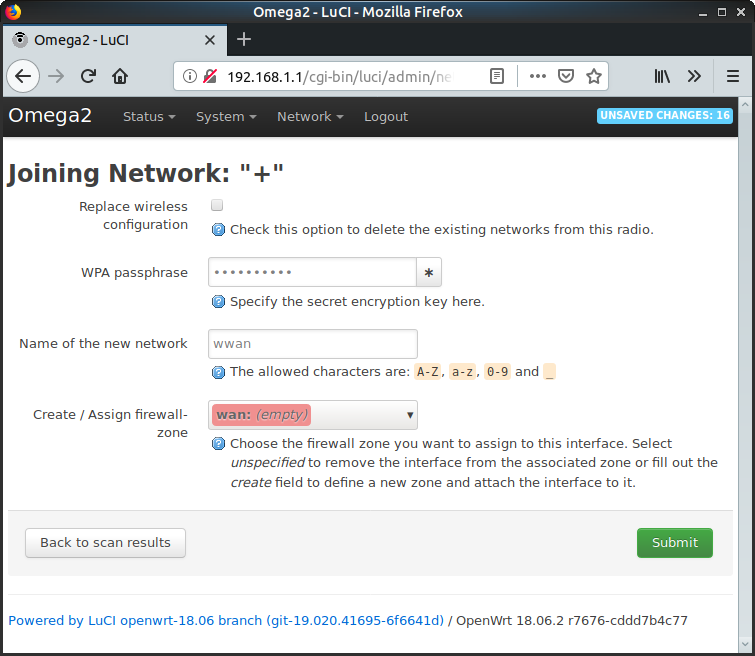
Most notably, my WiFi SSID is + (a plus sign), and the Onion would not connect to it.

I want to replace OnionOS with a standard OpenWrt installation!
Flashing OpenWrt 18.06 on Omega2 Pro
OpenWrt does not officially support Onion Omega2 Pro, but it supports Onion Omega2 Plus. They are basically the same thing:
As Omega2 Pro FAQ points out:
The Omega2S+ module is the centerpiece of the Omega2 Pro - providing the CPU, 128MB RAM memory & WiFi radio.
The Omega2S+ is the surface mount version of Omega2+.
Therefore, I downloaded OpenWrt for Omega2+, and saved openwrt-18.06.2-ramips-mt76x8-omega2p-squashfs-sysupgrade.bin file to a USB flash drive formatted in FAT32.
I plugged the flash drive into the Omega2 Pro, and powered on the device from my Linux desktop via a USB cable.
The USB cable also gives me a serial console using screen /dev/ttyUSB0 115200 command.
After the Onion boots, I can see from mount command that the USB drive was auto-mounted at /mnt/sda1.
So I invoked the sysupgrade command to flash the OpenWrt upgrade:
sysupgrade -n -F /mnt/sda1/openwrt-18.06.2-ramips-mt76x8-omega2p-squashfs-sysupgrade.bin-nclears configuration files, so that OnionOS stuff does not get carried over to the clean OpenWrt installation.-Fignores the difference between Omega2 Pro and Omega2+. Without this, sysupgrade would fail withDevice omega2pro not supported by this image; Supported devices: omega2perror.
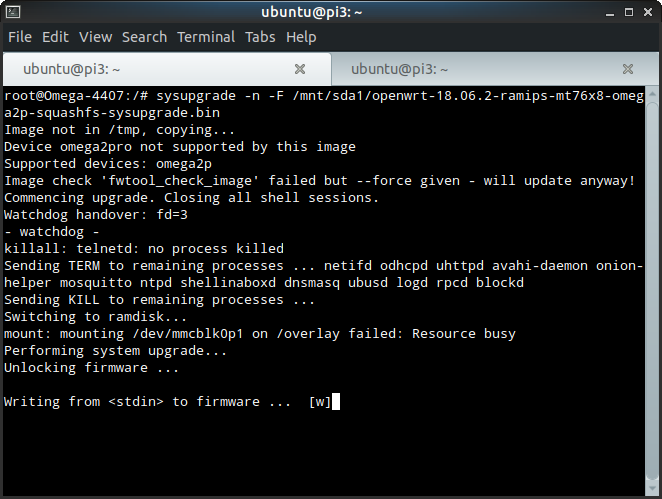
The procedure completes in about one minute, and then the device reboots automatically.
Setting up OpenWrt 18.06 on Omega2 Pro
Unlike OnionOS, a standard OpenWrt 18.06 installation does not automatically create a WiFi access point, but only accepts wired connections. I did not purchase the Ethernet expansion for Omega2, so I have to activate WiFi before doing anything else.
To enable WiFi access point, I just need to type a few commands on the serial console:
uci set wireless.radio0.disabled=0
uci commit
wifi
A few seconds later, a WiFi access point named OpenWrt appears.
I can connect to this access point, open LuCI, perform initial setup, change SSID and passwords, and most importantly create a WiFi client connection to my existing router.
Unlike the "Onion enhanced WiFi driver", OpenWrt's standard WiFi driver can happily accept my + SSID.
Enable eMMC Storage
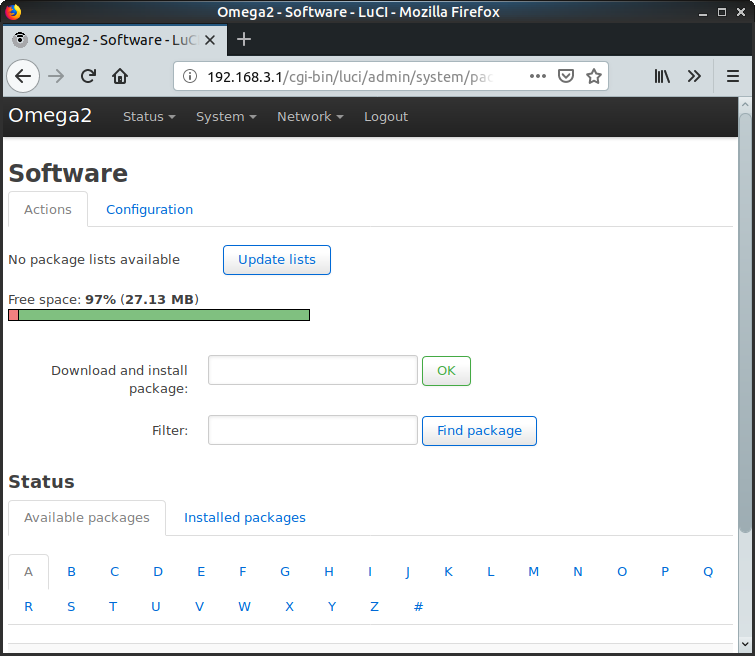
Browsing through LuCI, I notice that I only have 32MB storage, instead of the 8GB as advertised for Omega2 Pro. The reason is, OpenWrt is running off the internal 32MB storage embedded on the Omega2S+ chip, instead of the "external" 8GB eMMC storage.
OnionOS has a o2-pro-init.sh script that moves the filesystem from 32MB storage to the eMMC. Inspired by this script, I figured out how to move a standard OpenWrt installation to the 8GB eMMC.
First, install necessary packages:
opkg update
opkg install block-mount e2fsprogs fdisk kmod-fs-ext4 tar
Second, create a partition on the eMMC:
fdisk /dev/mmcblk0
You may need to delete existing partitions with d command.
Third, format the new partition in ext4 filesystem, and setup fstab:
mkfs.ext4 /dev/mmcblk0p1
block detect >/etc/config/fstab
uci set fstab.@mount[0].target=/overlay
uci set fstab.@mount[0].enabled=1
uci commit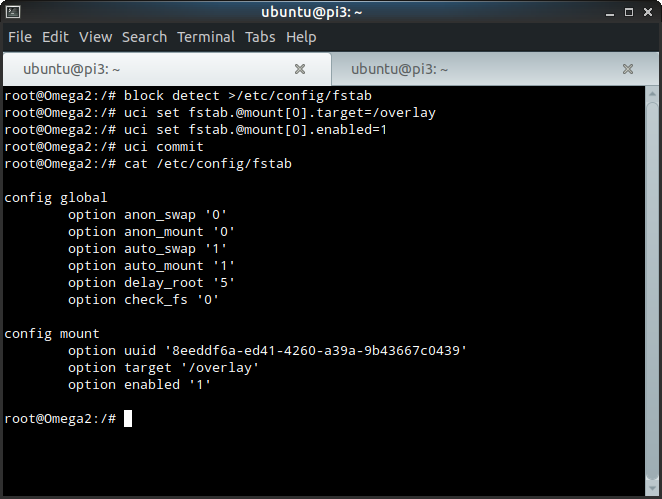
Finally, copy the filesystem to the new partition, and then reboot:
mkdir /tmp/overlay
mount /dev/mmcblk0p1 /tmp/overlay
tar -C /overlay -cvf - . | tar -C /tmp/overlay -xf -

reboot
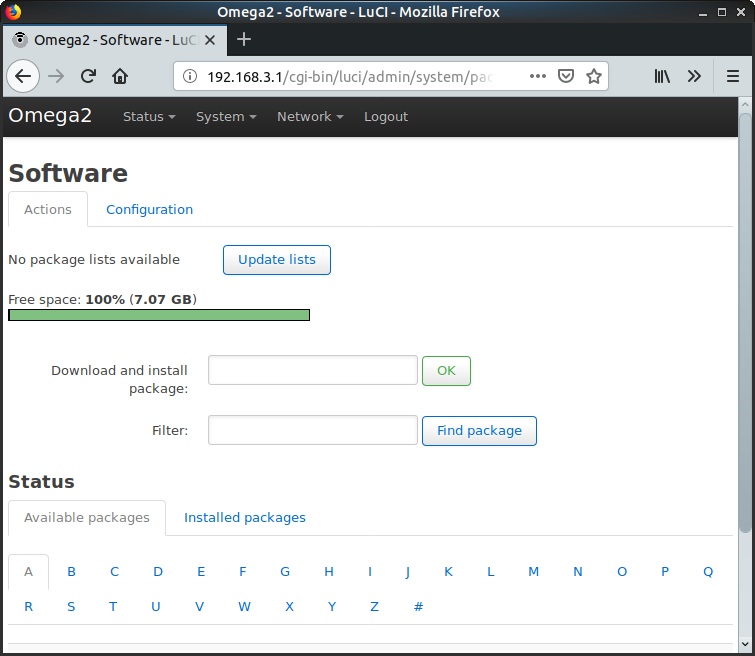
After rebooting, I am happily using the larger eMMC storage:
